

1. 4 ways to right-click with the keyboard on Windows 11?
Method 1: Utilize the Menu Key (or Application Key)
The Menu key (or application key) is a specialized key on the keyboard, functioning similarly to a right-click. Typically situated between the right Windows key and the right Ctrl key, or between the Fn key and the right Ctrl key, it features an icon depicting a menu with three horizontal stripes.
To employ this key, position the mouse pointer or highlight an item using the keyboard, then press the Menu key. Subsequently, a context menu will emerge, mirroring the operations of a right-click. You can navigate through the menu options using the arrow keys and confirm selections by pressing Enter.
Note: This key may eventually be supplanted by the Copilot key in forthcoming keyboards.
Method 2: Utilize the Shift + F10 Key Combination
If your keyboard lacks a Menu key or you prefer an alternative shortcut, you can employ the Shift + F10 key combination to simulate a right-click function with the keyboard. This straightforward shortcut requires no additional configuration.
Method 3: Utilize the Mouse Keys Feature
Windows offers a feature known as Mouse Keys, enabling mouse actions from the numeric keypad (Numpad). This feature facilitates not only left-clicking but also right-clicking, dragging and dropping, dragging, or relocating the mouse cursor.
To activate and utilize this feature, follow these steps:
Step 1: Navigate to Control Panel > Choose ‘Ease of Access’.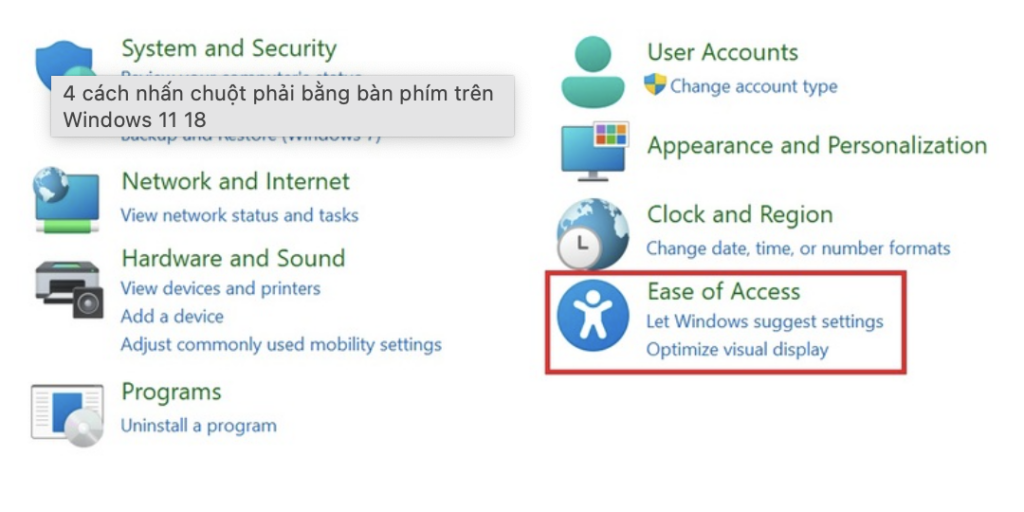
Step 2: Select ‘Ease of Access Center’.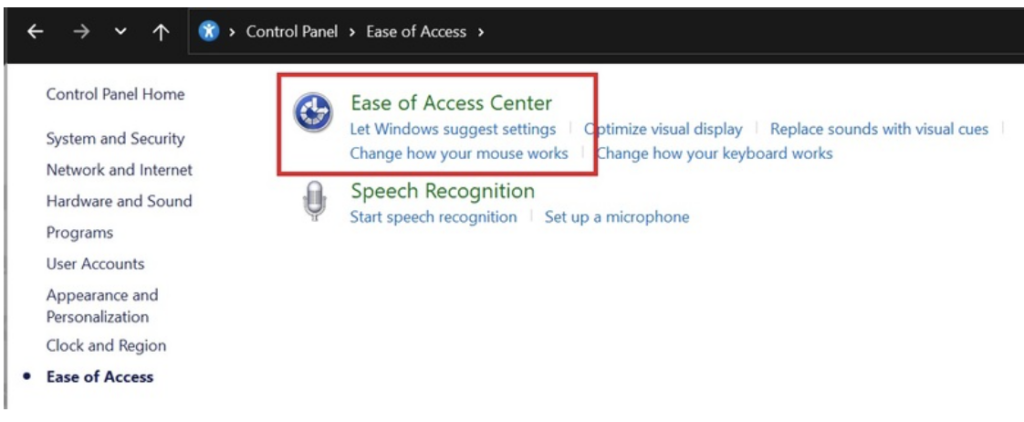
Step 3: Under the ‘Explore all settings’ section, opt for ‘Make the mouse easier to use’.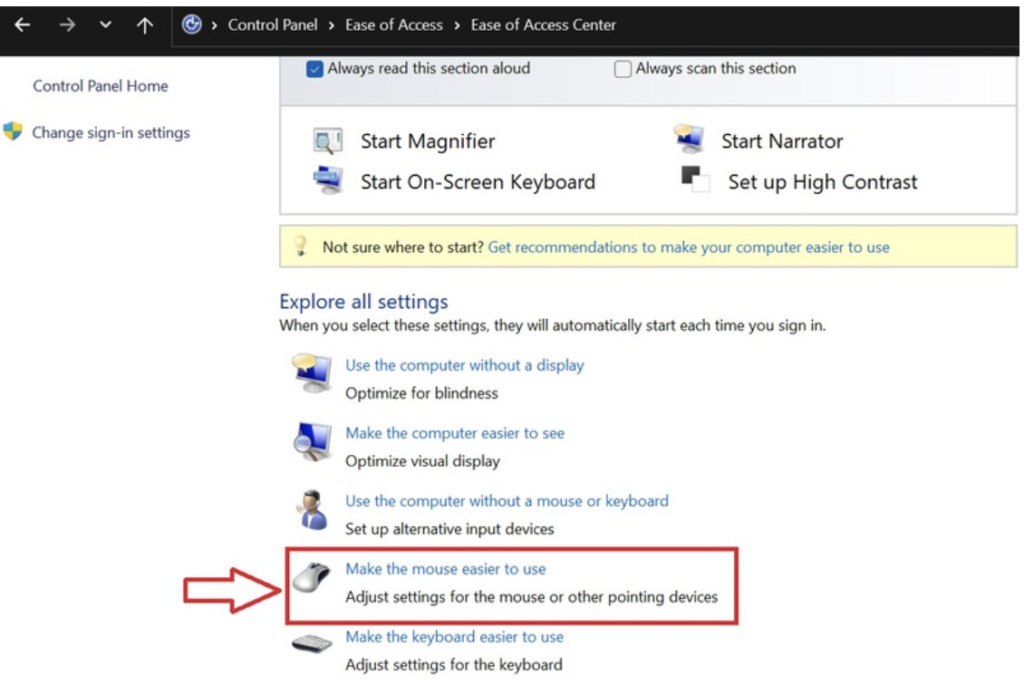 Step 4: Tick the box labeled ‘Turn on Mouse Keys’, then click ‘Apply’ to implement the changes.
You’ll now observe the Mouse Keys icon in the system tray. If you see a red X, press the Numlock key to activate it. A beep will signal each time you toggle Mouse Keys on or off.
You can now perform a right-click using the numeric keypad by pressing the minus key (-) followed by the 5 key.
Method 4: Utilize a Macro Program
Step 1: Download and install AutoHotkey from the provided link.
Step 2: Upon installation completion, right-click on the desktop, then navigate to New > AutoHotkey Script. This action will generate a new script file.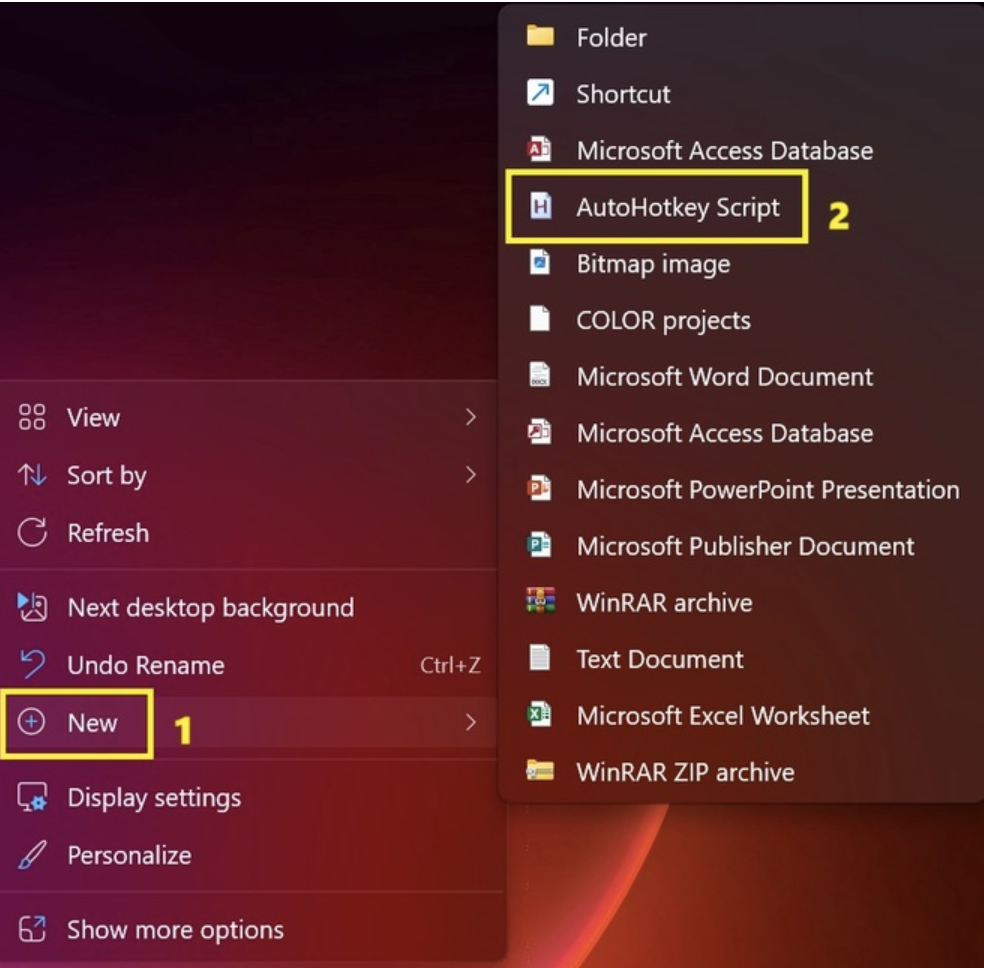
Step 3: Assign a name to the script file, such as ‘Right click’, for easier recall, then click ‘Create’.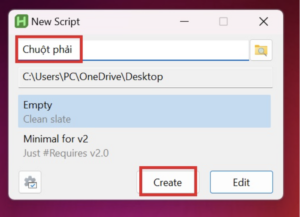
Step 4: Right-click on the script file and select ‘Edit in Notepad’.
Step 5: Remove all existing content within the file and input the following line: RAlt::RButton
This line designates the right Alt key (RAlt) to function as the right mouse button (RButton). You can designate any other key, ensuring you accurately note its key code.
Commonly used buttons for reference include: LShift or RShift, LCtrl or RCtrl,…
Step 6: Once the hotkey is assigned, click on File, then Save and close the Notepad file.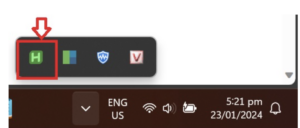
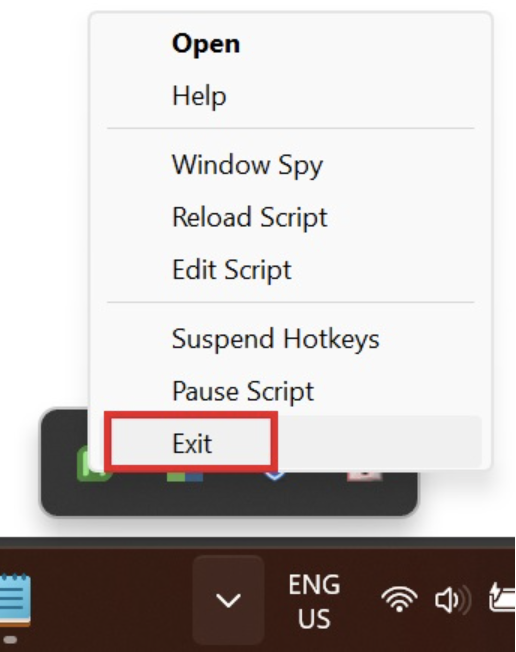
From this point onward, whenever you require a right-click using the keyboard, double-click on the created command file. The AutoHotkey icon will appear in the system tray, indicating the activation of the hotkey script.
This signifies that you can utilize the designated hotkey to execute a right-click. To halt the script, simply select Exit upon right-clicking the AutoHotkey icon in the system tray.