


When you delete a file on Windows 11, isn’t it completely gone from your hard drive? Instead, it will be moved to the Recycle Bin so you can restore it if necessary. However, these files will take up hard drive space if you do not delete them manually.
1. How to set up automatic trash cleaning on Windows 11
Step 1: Press Windows key + I to open the Settings window.
Step 2: Select System and then select Storage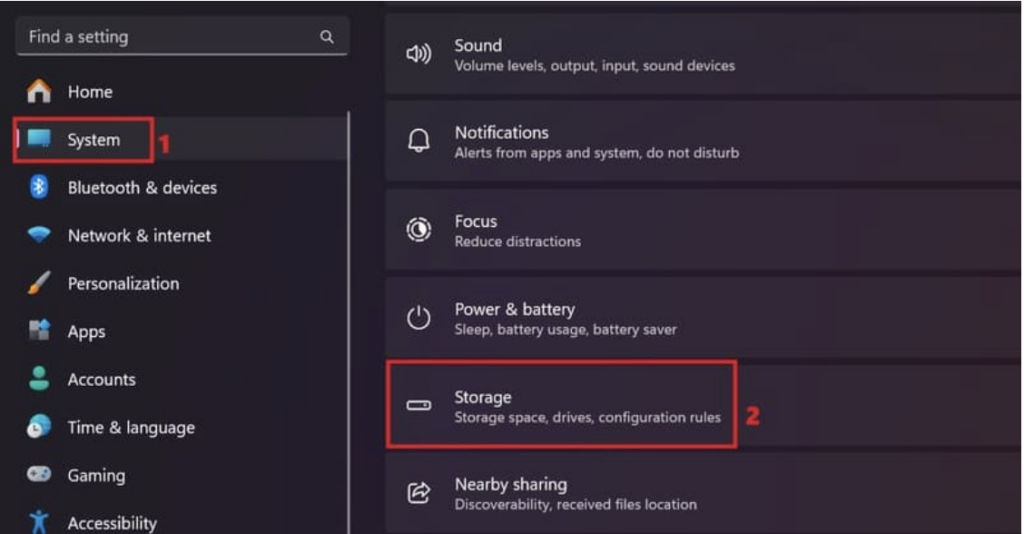
Step 3: In the Storage management section, select Storage Sense (not the On/Off option on the right).
Step 4: In the new window, you will see a section called ‘Automatic User content cleanup’. Please change it to On.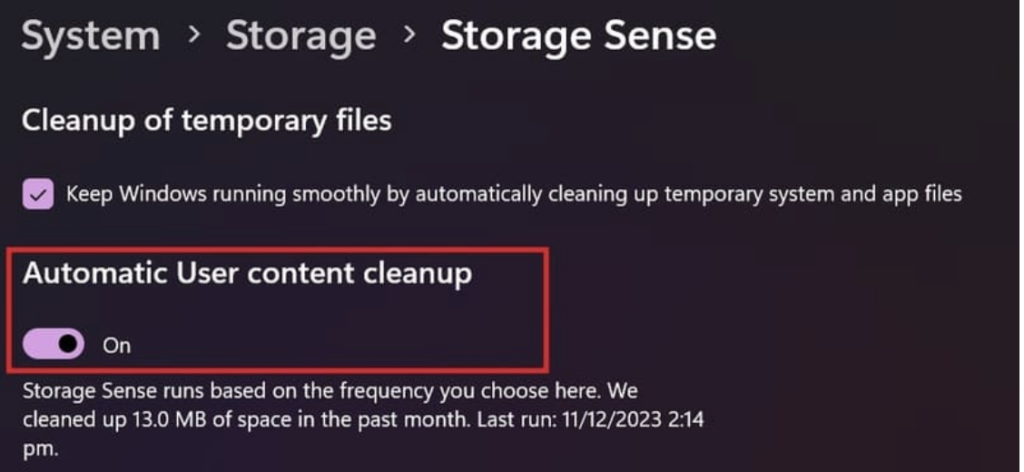
You will see a menu below with options to delete files in the trash and Download folder after a certain period of time. You can choose from 1, 14, 30 and 60 days depending on your needs. You should choose a reasonable amount of time to ensure you don’t accidentally delete important files.

Step 5: Once completed, you can select Run Storage Sense now to perform the first cleanup of the trash. Or you can let Storage Sense automatically run according to the schedule you set.

2. Epilogue
With this way of setting up automatic trash cleaning on Windows 11, deleting files will no longer require checking or worrying about wasted PC space – wish you success.